Learn the concept
This is the step-by-step. For what it is and how it fits the bigger picture, read Partner Console in the reference.
This is the step-by-step. For what it is and how it fits the bigger picture, read Partner Console in the reference.
What this does
Creating a client sets up a new Cloudby organisation for them. You draft the details first, check them, then deploy to bring it live.
Open Tenants
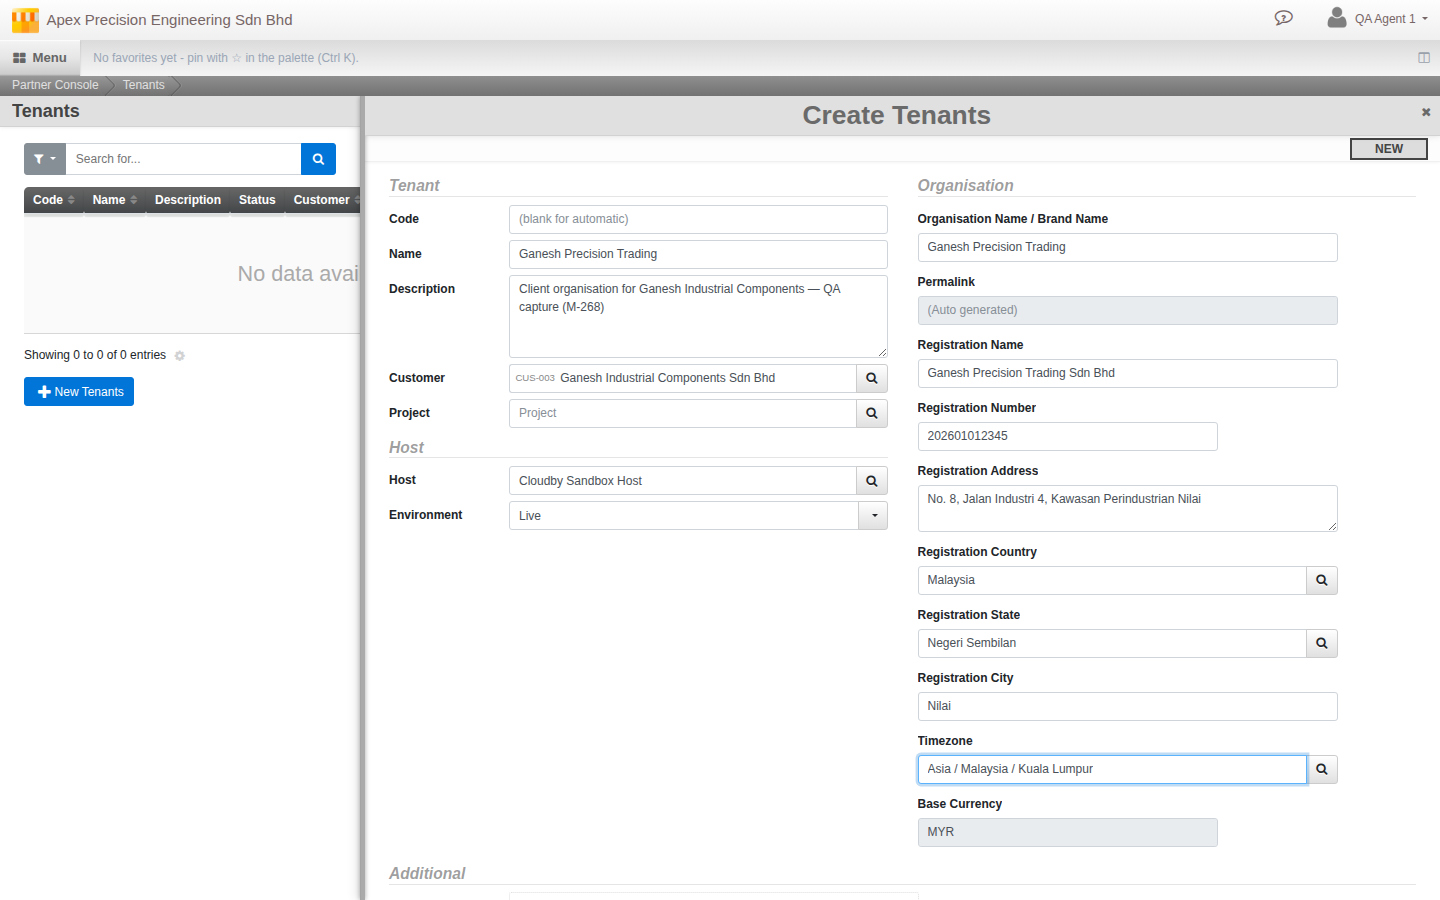
Go to Menu > Partner Console to see your Tenants, then click Create.
Draft the organisation
- Enter a Code (or leave it blank to have one assigned), Name and Description for the client. Link it to one of your own Customer records (required) and, if it applies, a Project. Pick the Host it will run on, and the Environment — Live or Sandbox.
- Fill in the organisation details: registration Name, Number and Address, Country, State and City, plus Timezone. Currency fills in on its own once you pick the Country.
- Save. The tenant sits in Draft while you check everything.
Before you deploy. A tenant needs a Host to deploy to. If none is set, Deploy stops immediately with an Invalid Host message instead of going live — ask whoever administers your Cloudby partner account to set one up first.
Deploy
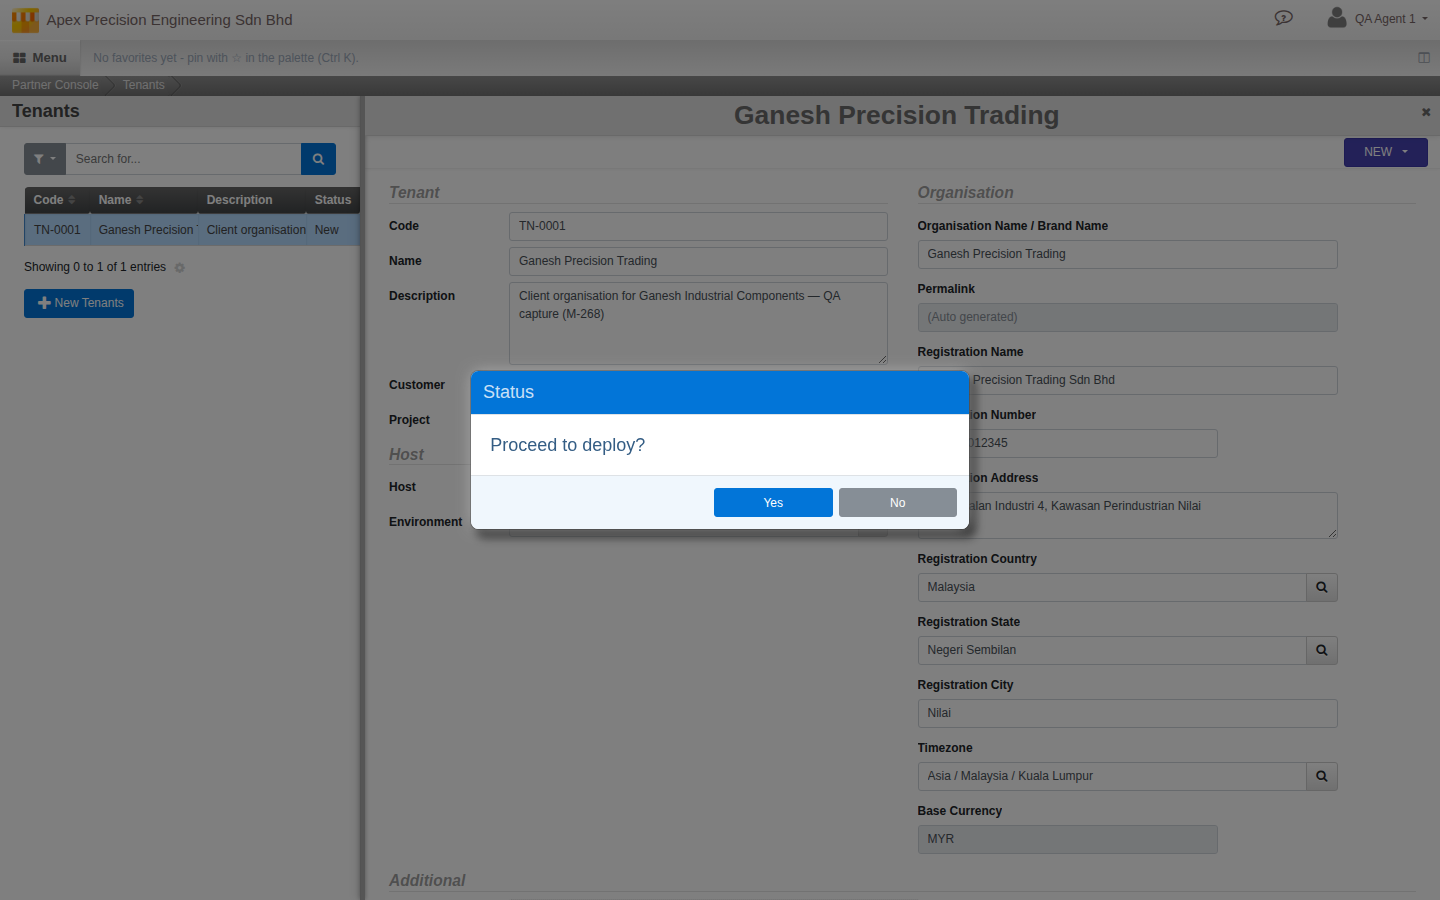
When the details are right, Deploy the tenant. Cloudby creates the live organisation, and you become an administrator of it so you can carry on setting it up.
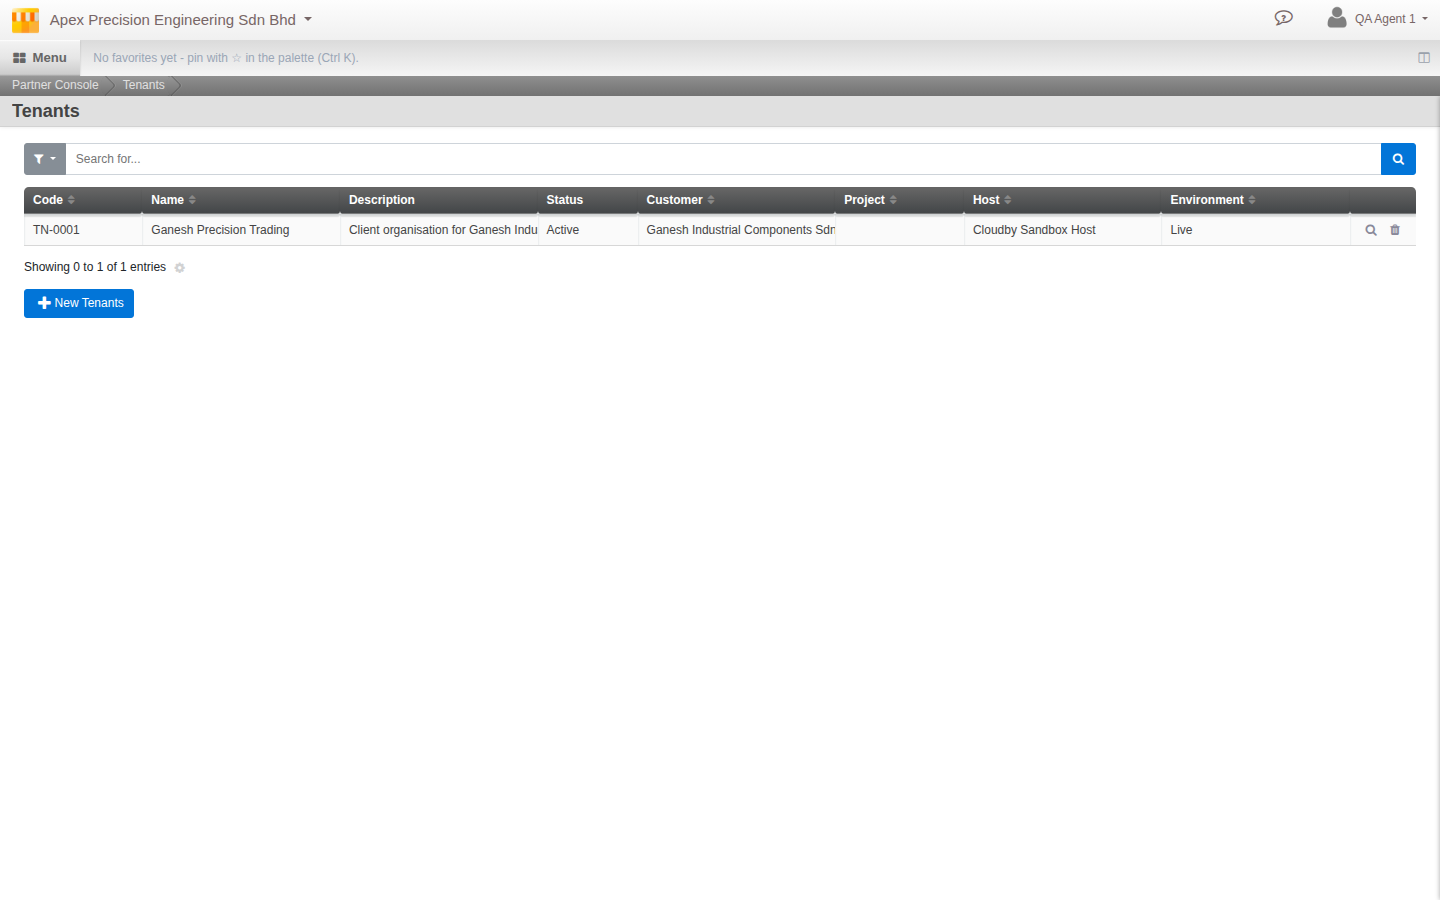
Next step. A fresh organisation is empty. Use Apply a configuration preset to load a ready-made set of settings (custom fields, payroll items, document templates, chart of accounts) for the client country.